# Tool documentation

## Tool location

To find the tool, you have to activate the "Scriptable tools" mode:

<figure><img src="/files/8ddQggYMPODUnhKtZozm" alt=""><figcaption><p>Scriptable tools menu</p></figcaption></figure>

{% hint style="info" %}
If you don't see the "Scriptable Tools" mode, be sure to activate the plugins: \
\&#xNAN;**- Scriptable Tools Framework**\
**- Scriptable Tools Editor Mode**
{% endhint %}

Once the tool is selected, you will see the UI widget displayed in the top left corner of your 3D viewport:

<figure><img src="/files/kGN9tHXwrdQjdHkecHSc" alt=""><figcaption><p>Default tool UI widget</p></figcaption></figure>

***

## Tool steps

The tool works in three steps:

1. Trace "root points" on visible objects according to "brush strokes" ( simple click and / or drag on the 3D viewport ).
2. Scatter points around those root points, in the given radius, using the samples count parameter and project them on the visible objects ( max distance used for the projection is the brush radius too ).
3. Execute a selected PCG graph with those points as input ( roots + scattered ).

<figure><img src="/files/nPGVKSElokmDciVg885o" alt=""><figcaption><p>Trace root points on visible object from brush strokes</p></figcaption></figure>

<figure><img src="/files/MnH7hjwulxegf4E5kX7w" alt=""><figcaption><p>Scatter new points around the roots, in the brush stroke radius</p></figcaption></figure>

<figure><img src="/files/80RPwAzdpfRm2L5YnkFQ" alt=""><figcaption><p>Execute a PCG graph on the points ( roots and scattered )</p></figcaption></figure>

## Tool parameters

<figure><img src="/files/bRaSpL924UBok1I2Eb7B" alt="" width="378"><figcaption><p>PCGPainter parameters</p></figcaption></figure>

<figure><img src="/files/nHQs6Hgap3S9dgOe2jVI" alt="" width="331"><figcaption><p>Header infos</p></figcaption></figure>

Tool header allows you to check which painter actor you're editing ( empy when none is selected but a new one is create ).\
Double click on the name allows you to edit the actor's display label in the outliner.

**Painter Actor Class:**

Select what actor class you want to use to process the painted point. If you leave it as default “PCGPainterActor”, then you have to select which PCG graph you want to process.\
Otherwise, you can create a BP actor of type PCGPainterActor and set the pcg graph in this blueprint directly, more infos at the “Custom PCGPainterActor” paragraph.

*If you launch the tool with an PCGPainterActor selected, the Painter actor class parameter will be greyed out and set to the selection’s class.*

**Graph:**

The *PCG graph instance* which will be executed on root and scattered points ***only needed for PCGPainterActor default class**.*

**Show graph instances parameters:**

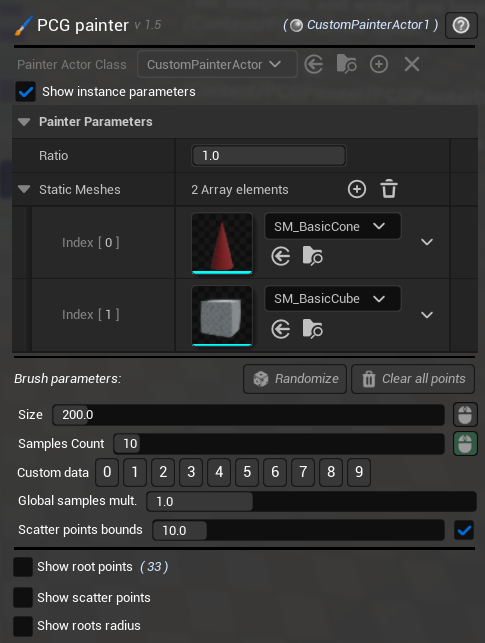
Display the selected PCG graph instances parameters or any blueprint variables set in “Painter Prameters” ( if any exposed ), they can be tweaked directly from this UI widget.

<figure><img src="https://cgtoolbox.com/wp-content/uploads/2025/04/image-3.png" alt="" height="643" width="485"><figcaption><p>Example of blueprint parameters exposed in a custom PCGPainterActor class <em>(“CustomPainterActor”)</em>.</p></figcaption></figure>

**Randomize button:**

Force a recook of the PCG graph with a different seed.

**Clear all points:**

Delete all generated points ( roots and scattered ).

{% hint style="warning" %}
Undo is not supported at the moment on clear all points !!
{% endhint %}

**Size:**

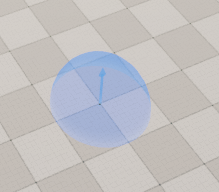
The size ( radius ) of the brush. It will be used to scatter the points in it, as well as used to project them on the visible objects.

<figure><img src="http://cgtoolbox.com/wp-content/uploads/2024/11/image-8.png" alt=""><figcaption><p><em>Size of 200.</em></p></figcaption></figure>

**Samples count:**

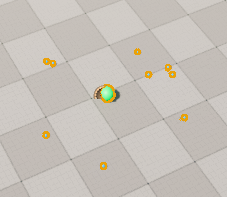
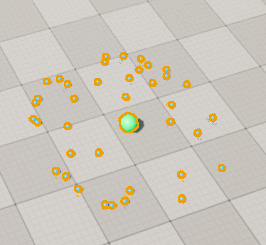
The number of "rays" or "samples" to be randomly processed in the brush radius when the user clicks and drag it.&#x20;

It doesn't represent the real number of output points, but more a "density".

<figure><img src="http://cgtoolbox.com/wp-content/uploads/2024/11/image-9.png" alt=""><figcaption><p><em>Samples count: 10</em>.<br><em>Size: 400.0.</em></p></figcaption></figure>

<figure><img src="http://cgtoolbox.com/wp-content/uploads/2024/11/image-10.png" alt=""><figcaption><p><em>Samples count: 50.</em><br><em>Brush Size: 400.0</em></p></figcaption></figure>

Size and sample count can be driven by the Mouse Wheel if the icon on the right side of the parameter is checked on (in green):<br>

<figure><img src="https://cgtoolbox.com/wp-content/uploads/2025/03/image.png" alt=""><figcaption><p>Notice the two mouse icon on the right</p></figcaption></figure>

**Custom data:**

A simple integer value which can be set to any brush strokes. This is useful to drive the PCG graph behavior differently between brushes if needed.

<figure><img src="https://cgtoolbox.com/wp-content/uploads/2025/04/image-4.png" alt=""><figcaption><p>Custom data '1' selected</p></figcaption></figure>

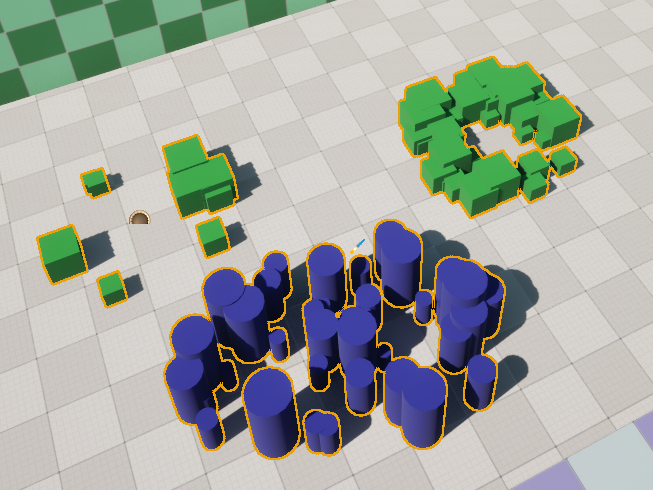
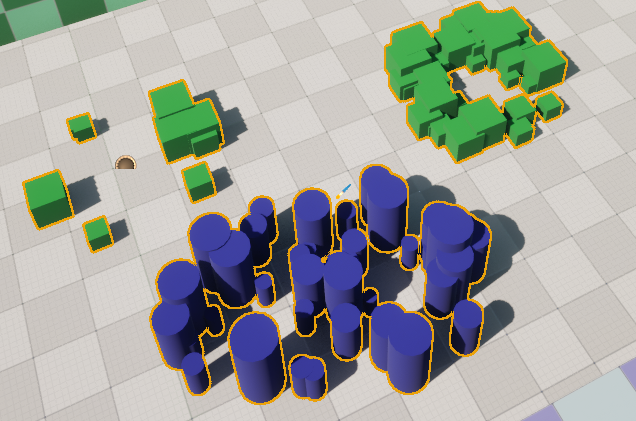
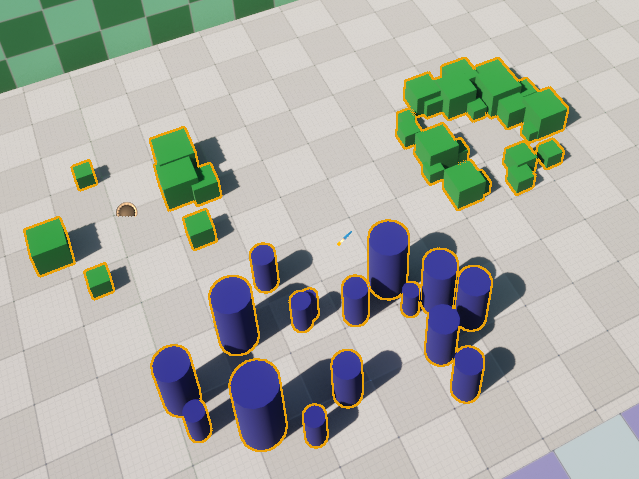
<figure><img src="http://cgtoolbox.com/wp-content/uploads/2024/11/image-11.png" alt=""><figcaption><p>Some of the <em>scattered points have '1' as custom data, then the PCG graph spawn cylinders on them instread of the cubes</em></p></figcaption></figure>

**Global samples mult. :**

A global multiplier applied on the whole PCG graph ( not per strokes ). Multiplies the number of samples used to create the scattered points.

**Scatter points bounds:**

Set the scatter points ( around roots ) bounds size, used to remove overlapping points if needed ( the option can be turned on / off using the checkbox ), the setting is applied globally, not per strokes.

<figure><img src="http://cgtoolbox.com/wp-content/uploads/2024/11/image-12.png" alt=""><figcaption><p><em>Bounds size set to 10.0 ( default ).</em></p></figcaption></figure>

<figure><img src="http://cgtoolbox.com/wp-content/uploads/2024/11/image-13.png" alt=""><figcaption><p><em>Bounds size set to 20.0.</em></p></figcaption></figure>

## Debug options

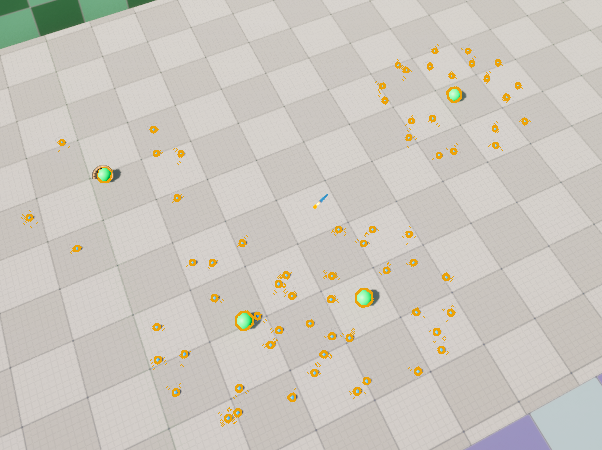
**Show root points:**

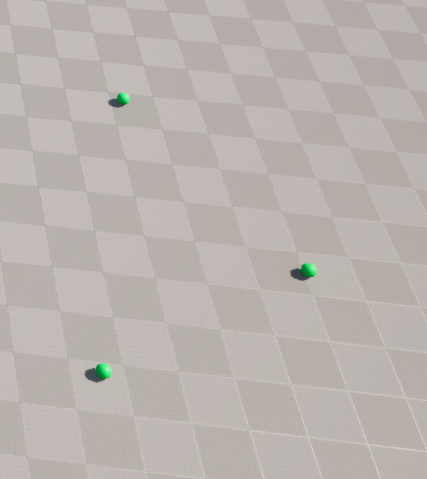
Display the roots points created by the brush strokes.

<figure><img src="https://cgtoolbox.com/wp-content/uploads/2025/04/image-5.png" alt=""><figcaption></figcaption></figure>

**Show scatter points:**

Display the points scattered in the brush radius and projected on visible objects.

<figure><img src="http://cgtoolbox.com/wp-content/uploads/2024/11/image-15.png" alt=""><figcaption><p><em>Show roots points is still on is this example.</em></p></figcaption></figure>

**Show roots radius:**

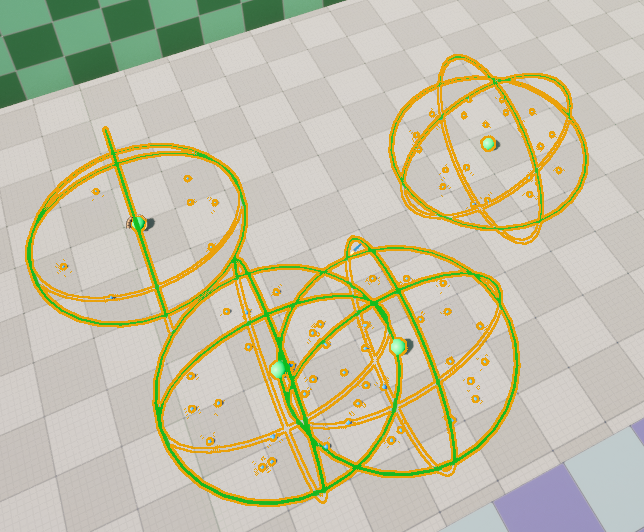
Show the radius of each brush strokes. Useful also to debug scattered points projection.

<figure><img src="http://cgtoolbox.com/wp-content/uploads/2024/11/image-17.png" alt=""><figcaption><p><em>Show root radius ( brush size ).</em></p></figcaption></figure>

***


---

# Agent Instructions: Querying This Documentation

If you need additional information that is not directly available in this page, you can query the documentation dynamically by asking a question.

Perform an HTTP GET request on the current page URL with the `ask` query parameter:

```
GET https://cgtoolbox.gitbook.io/cgtoolbox-docs/pcg-painter/tool-documentation.md?ask=<question>
```

The question should be specific, self-contained, and written in natural language.
The response will contain a direct answer to the question and relevant excerpts and sources from the documentation.

Use this mechanism when the answer is not explicitly present in the current page, you need clarification or additional context, or you want to retrieve related documentation sections.